QUALITY IS WHAT THE CUSTOMER WANTS

QUALITY INSPECTION OPTIONS

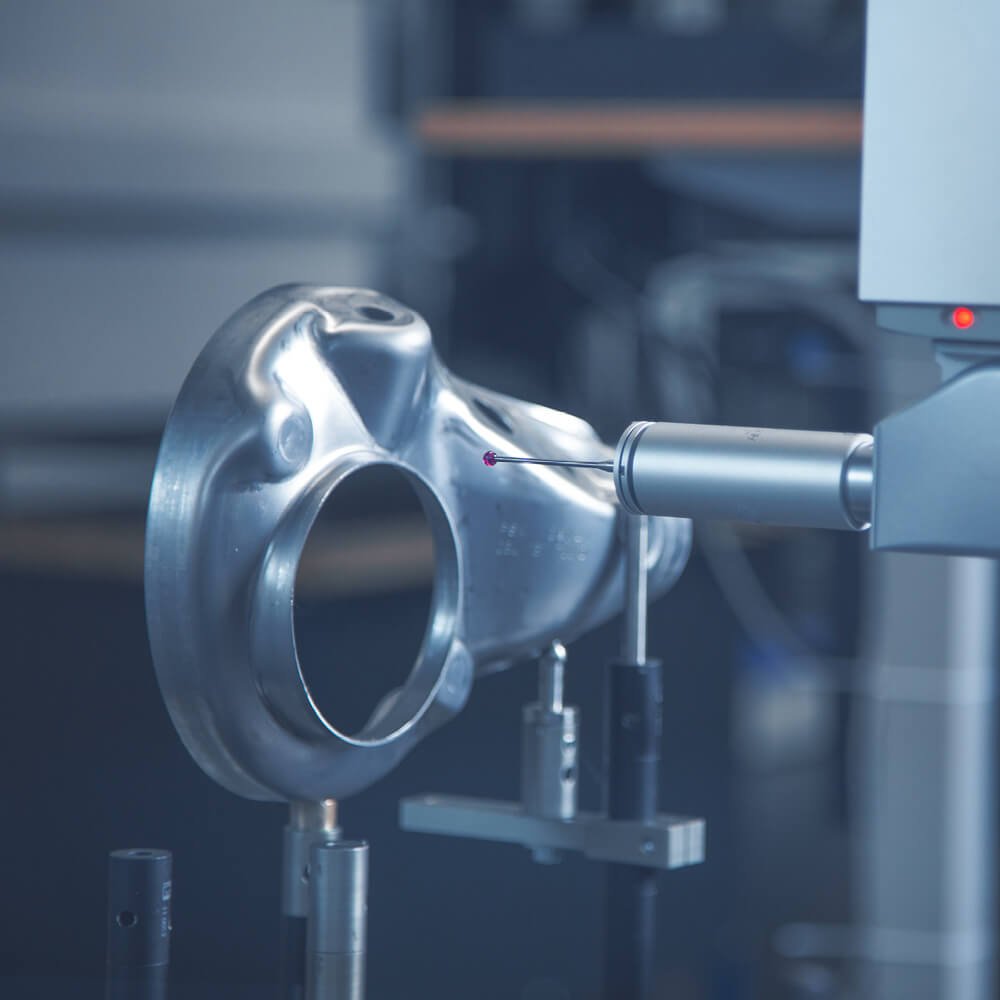
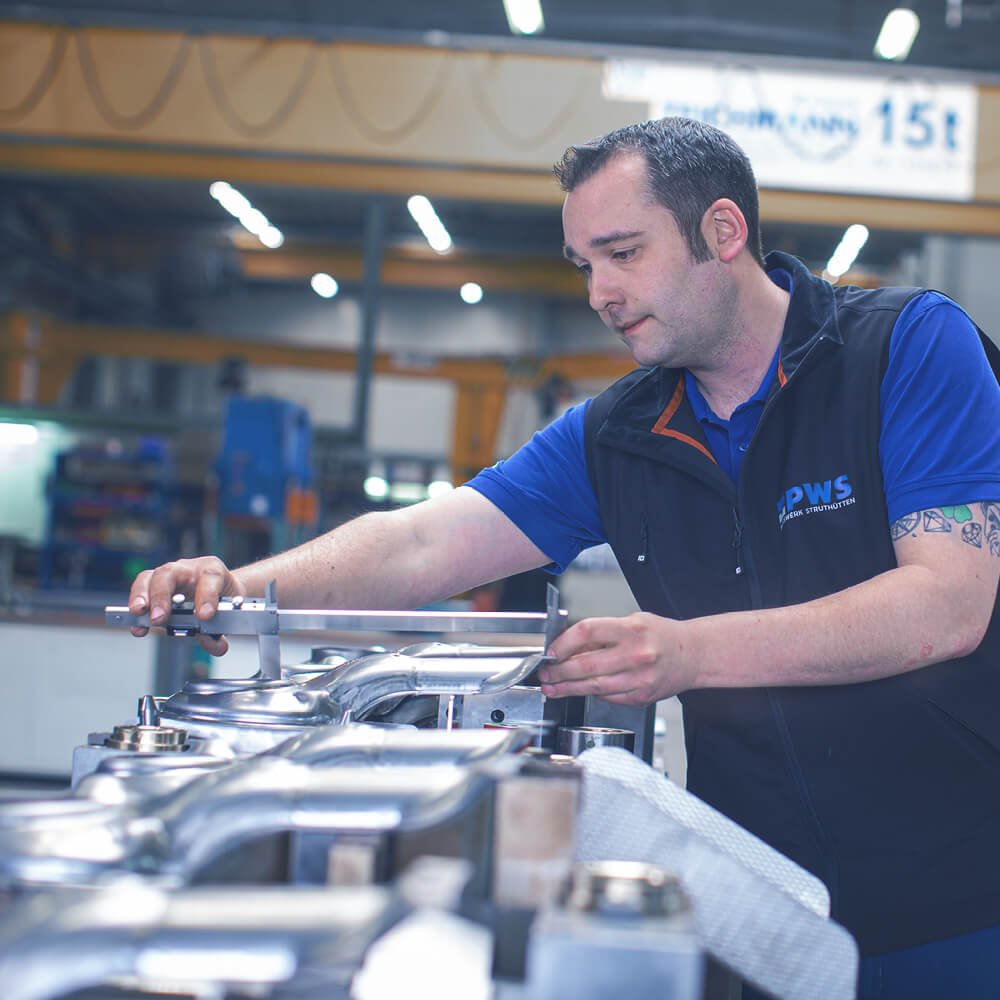
To check the customer-specific requirements of our components, we have a wide range of options available to us during and after the manufacturing cycle. In addition to tactile and optical measuring methods, we also use both non-destructive and destructive testing methods.

Our quality management features an efficient organisational and operational structure, enabling us to identify potential errors and risks at an early stage. This allows us to analyse their causes and initiate suitable corrective measures so we can prevent the occurrence of possible defects and minimise risks.

The goal of quality inspection is “zero-defect quality”.

MEASUREMENT PROCESSES

  • Thome coordinate measuring machine
    (measuring range 700×500×400 mm (L×W×H))
  • Hexagon coordinate measuring machine
    (measuring range 2,200×1,200x×900 mm (L×W×H))
  • Steinbichler optical measuring device
    (measuring range 2,150×2,000 mm (L×W))
  • Keyence optical measuring device
    (measuring range Ø300x250 mm (D×H))
  • Profile projector
    (measuring range 250x125 mm (L×W))
A workpiece made of metal that is scanned by a machine.

TESTING METHODS

  • Dye penetration test according to EN 571-1
  • Macrosections
  • Leak test
  • Visual inspection
  • Fracture samples
  • Hardness test
  • Roughness test
  • Microscopy
  • Metallography
  • Work samples


We can carry out further tests, such as spectral analysis or radiographic testing, with external service providers.

A man measures a workpiece made of metal.